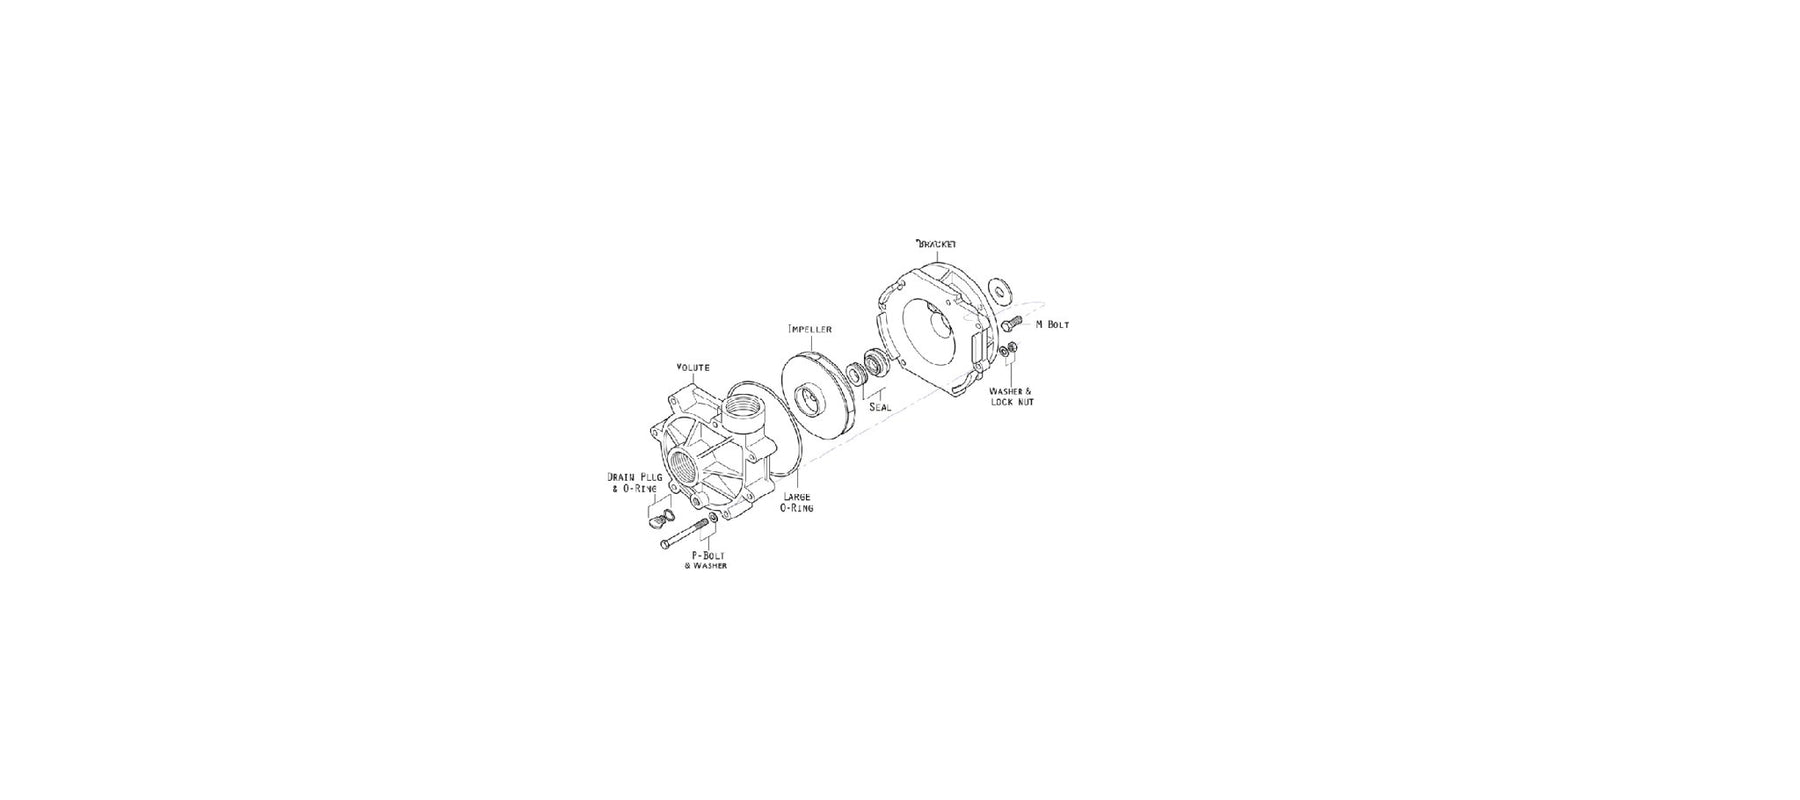
How to change a Reeflo Impeller.
Some of Reeflo's saltwater pumps come with 2 different impellers which allow you to change the gallons per hour (GPH) at different pressure levels. In fact, the way Reeflo names their products may indicate if 1 or 2 impellers are included. Read more about the naming of Reeflo products here. You can also change an impeller if it becomes old or damaged. So how do you change the impeller on your Reeflo pump? It's actually quite simple, we provided all of the instructions below.
How to change the impeller of a Reeflo saltwater pump:
Step 1: Gather your tools. You'll need:
- 3/8" Wrench.
- Flathead Screwdriver
Step 2: Using the 3/8" Wrench, remove the 6 nuts & matching bolts that hold the impeller housing together.


Step 3: Remove the cover
Step 4: Insert the Flathead screwdriver into the end of the pump to prevent the impeller from spinning.

Step 5: Unscrew the impeller counterclockwise by hand. If it's stuck, tap lightly around the rim to loosen. If it's very stuck, use a strap wrench or insert a thin flat head screwdriver into the impeller vein and gently torque.

Step 6: Screw the new impeller on clockwise, be careful not to cross thread. Do this by placing the flat head screwdriver in the end of the pump. Then screw the impeller on the shaft by hand. Hand-tighten until the spring on the seal engages, until you feel resistance & can no longer tighten it.

Step 7: Inspect the impeller. Once done, it should look like the picture below and spin freely.

Step 8: Lubricate the O-Ring (yellow arrow above) with a water based or a non-petroleum based lubricant.
Step 9: Lay the front impeller cover face down, lower the rest of the pump down on top of it, then insert the bolts. Hand tighten all the nuts, then using the 3/8" wrench carefully tighten them down in a criss-cross pattern. In doing so, the cover-plate will be secured properly and evenly. Don't forget, the O-Ring is there so you do not need to over-tighten.
Step 10: Inspect the pump. Everything should look uniform and the cover plate should sit evenly in the base. The screws should all have the same amount of threads visible.
You've done it! Now you can enjoy your Reeflo pump with a fresh new impeller. Still have questions? The Reeflo Resource center may help. Or you can contact us here.

Leave a comment